Connect 90+ Data Sources to Your Data Lake with Azure Databricks and Azure Data Factory
by Clinton Ford and Mike Cornell
Get an early preview of O'Reilly's new ebook for the step-by-step guidance you need to start using Delta Lake.
Data lakes enable organizations to consistently deliver value and insight through secure and timely access to a wide variety of data sources. The first step on that journey is to orchestrate and automate ingestion with robust data pipelines. As data volume, variety, and velocity rapidly increase, there is a greater need for reliable and secure pipelines to extract, transform, and load (ETL) data.
Databricks customers process over two exabytes (2 billion gigabytes) of data each month and Azure Databricks is the fastest-growing Data & AI service on Microsoft Azure today. The tight integration between Azure Databricks and other Azure services is enabling customers to simplify and scale their data ingestion pipelines. For example, integration with Azure Active Directory (Azure AD) enables consistent cloud-based identity and access management. Also, integration with Azure Data Lake Storage (ADLS) provides highly scalable and secure storage for big data analytics, and Azure Data Factory (ADF) enables hybrid data integration to simplify ETL at scale.
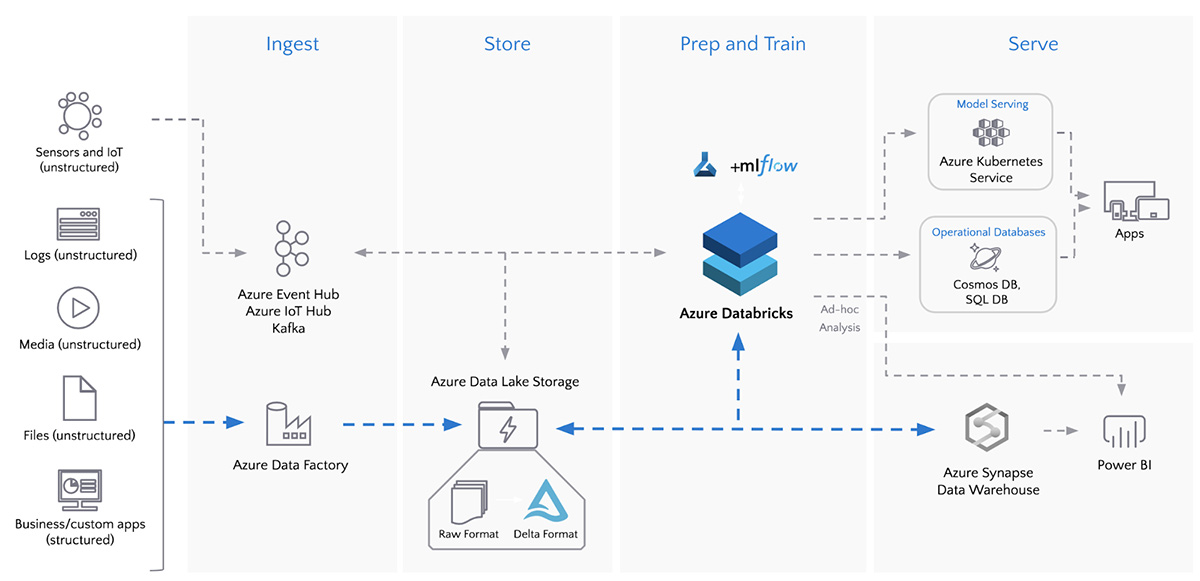
Diagram: Batch ETL with Azure Data Factory and Azure Databricks
Connect, Ingest, and Transform Data with a Single Workflow
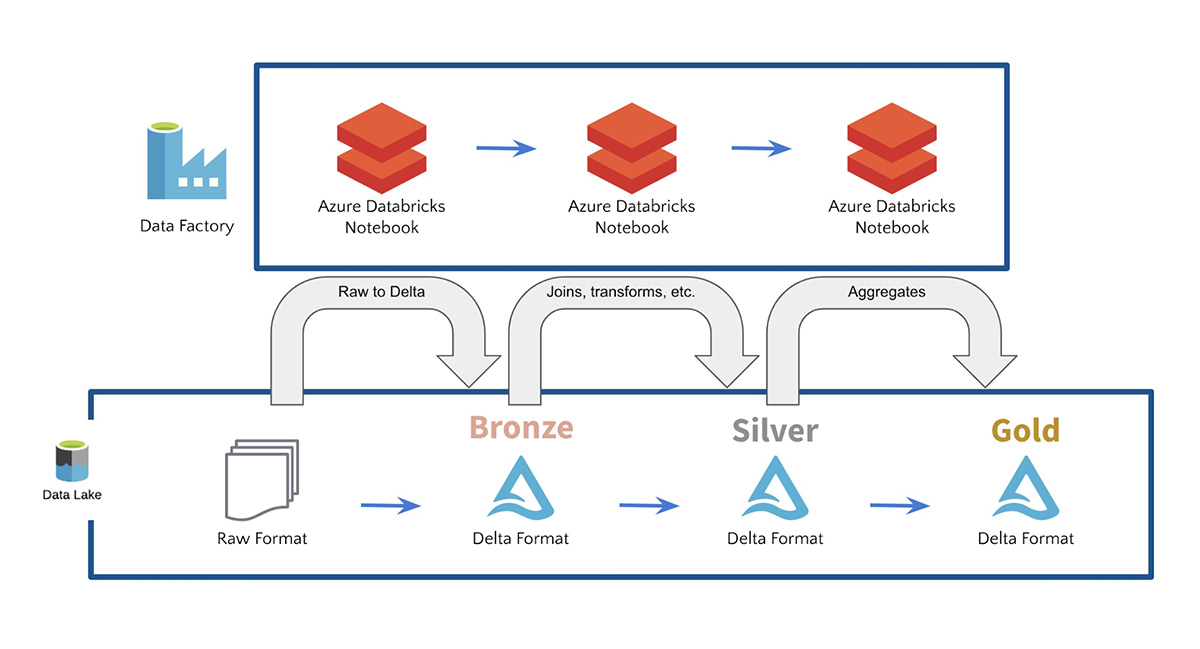
ADF includes 90+ built-in data source connectors and seamlessly runs Azure Databricks Notebooks to connect and ingest all of your data sources into a single data lake. ADF also provides built-in workflow control, data transformation, pipeline scheduling, data integration, and many more capabilities to help you create reliable data pipelines. ADF enables customers to ingest data in raw format, then refine and transform their data into Bronze, Silver, and Gold tables with Azure Databricks and Delta Lake. For example, customers often use ADF with Azure Databricks Delta Lake to enable SQL queries on their data lakes and to build data pipelines for machine learning.
Get Started with Azure Databricks and Azure Data Factory
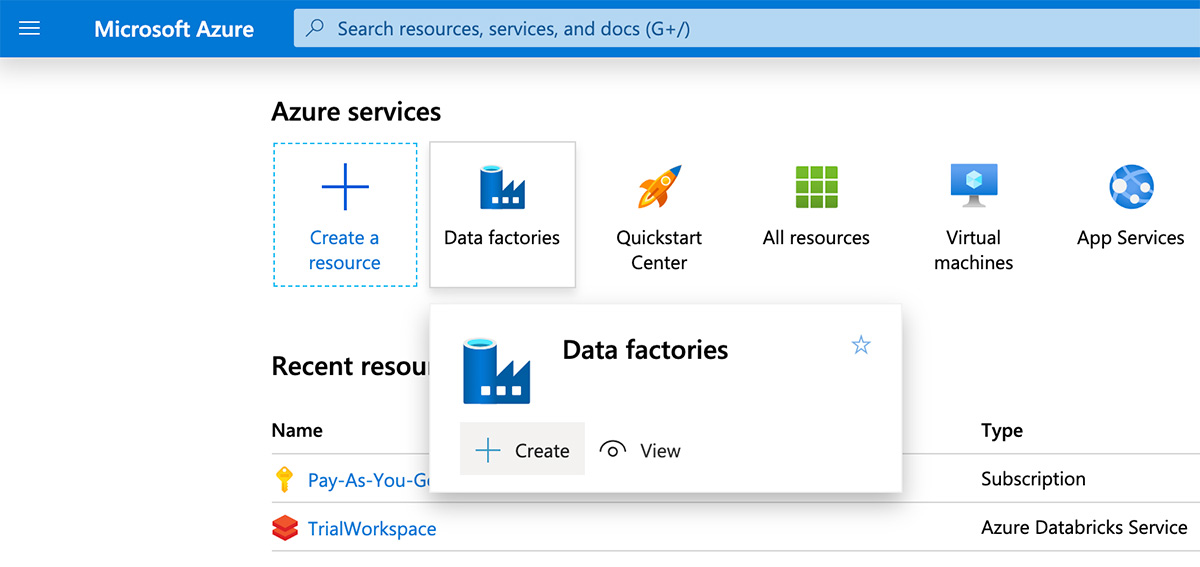
To run an Azure Databricks notebook using Azure Data Factory, navigate to the Azure portal and search for “Data factories”, then click “create” to define a new data factory.
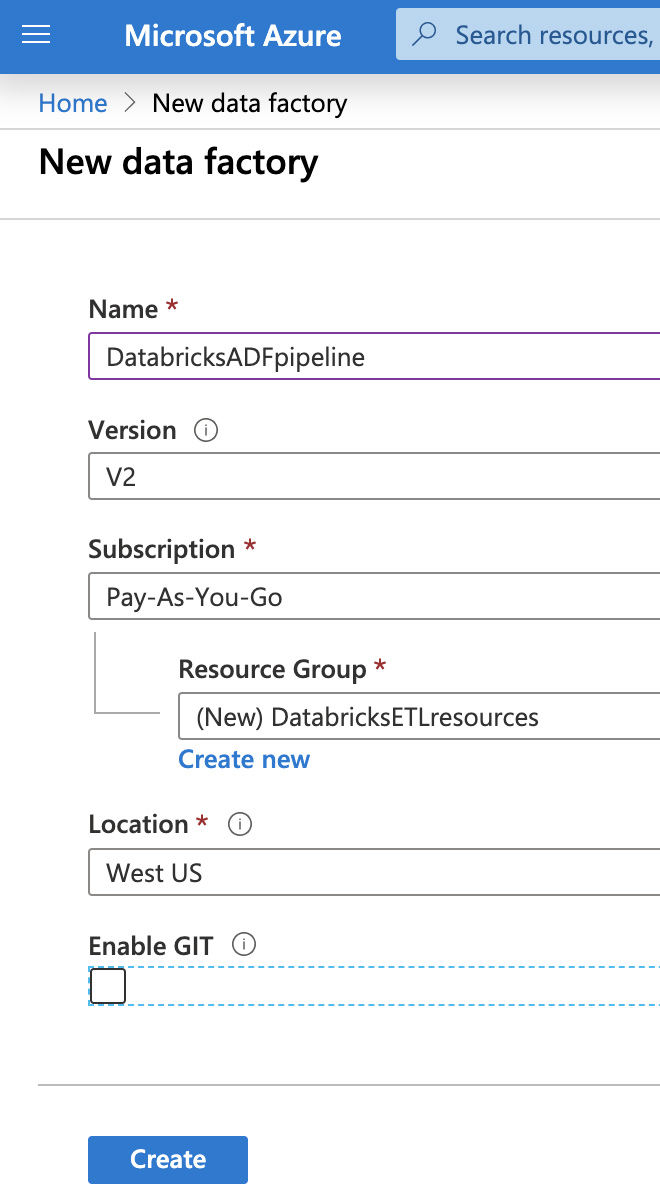
Next, provide a unique name for the data factory, select a subscription, then choose a resource group and region. Click "Create".
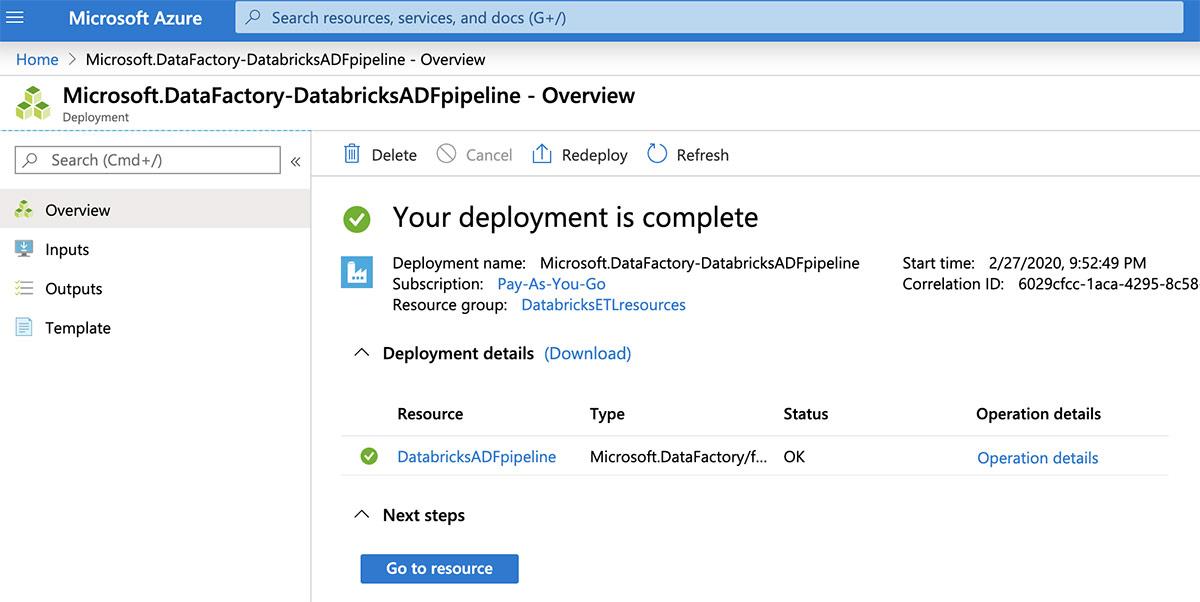
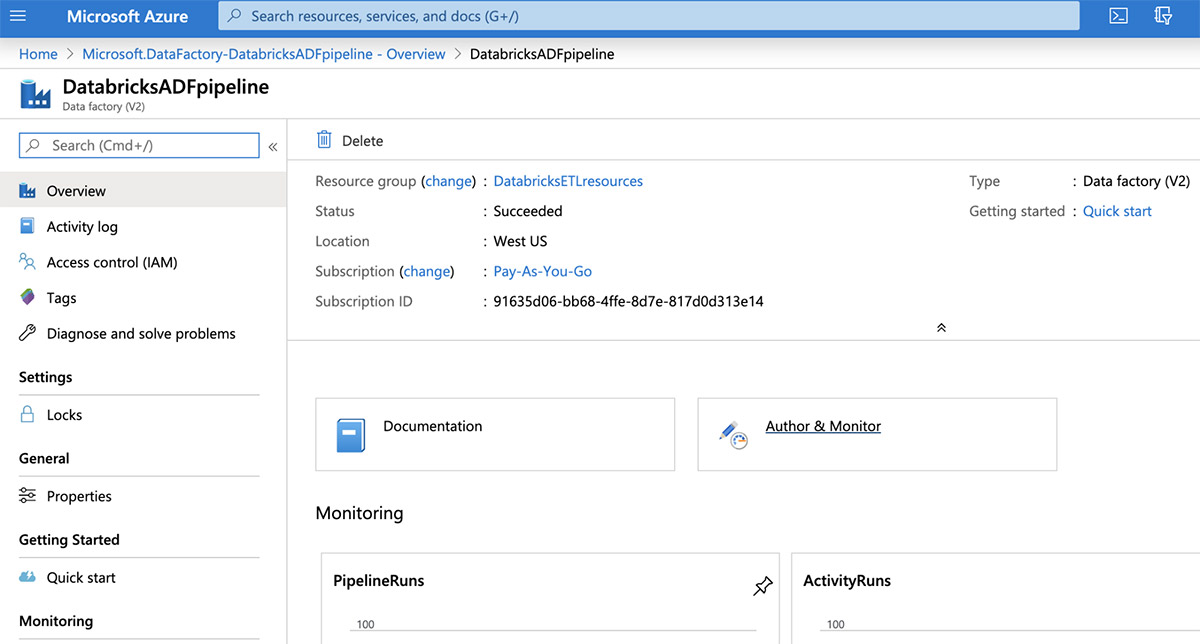
Once created, click the "Go to resource" button to view the new data factory.
Now open the Data Factory user interface by clicking the "Author & Monitor" tile.
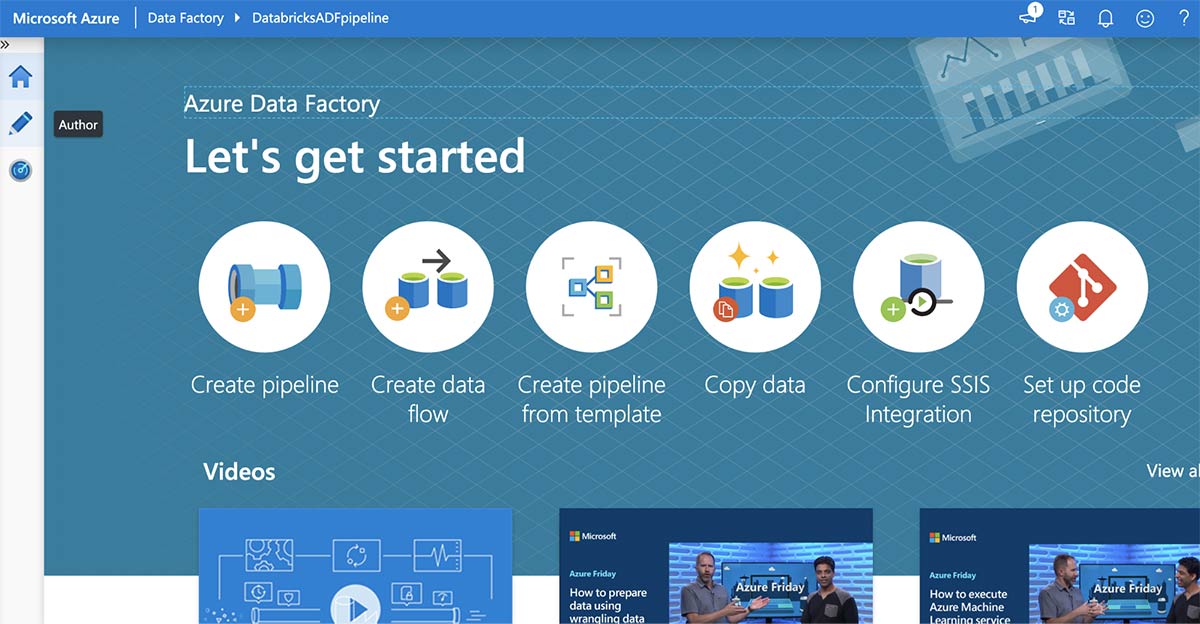
From the Azure Data Factory “Let’s get started” page, click the "Author" button from the left panel.
Next, click "Connections" at the bottom of the screen, then click "New".
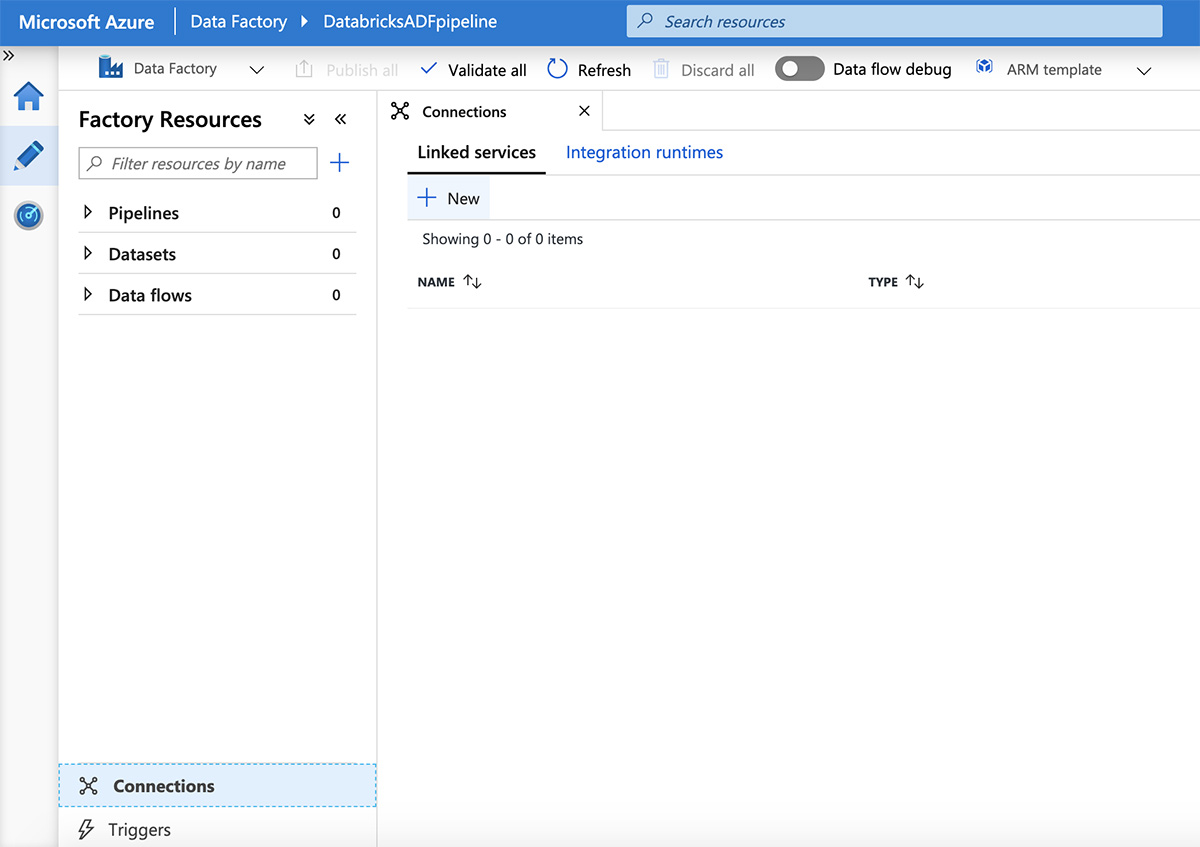
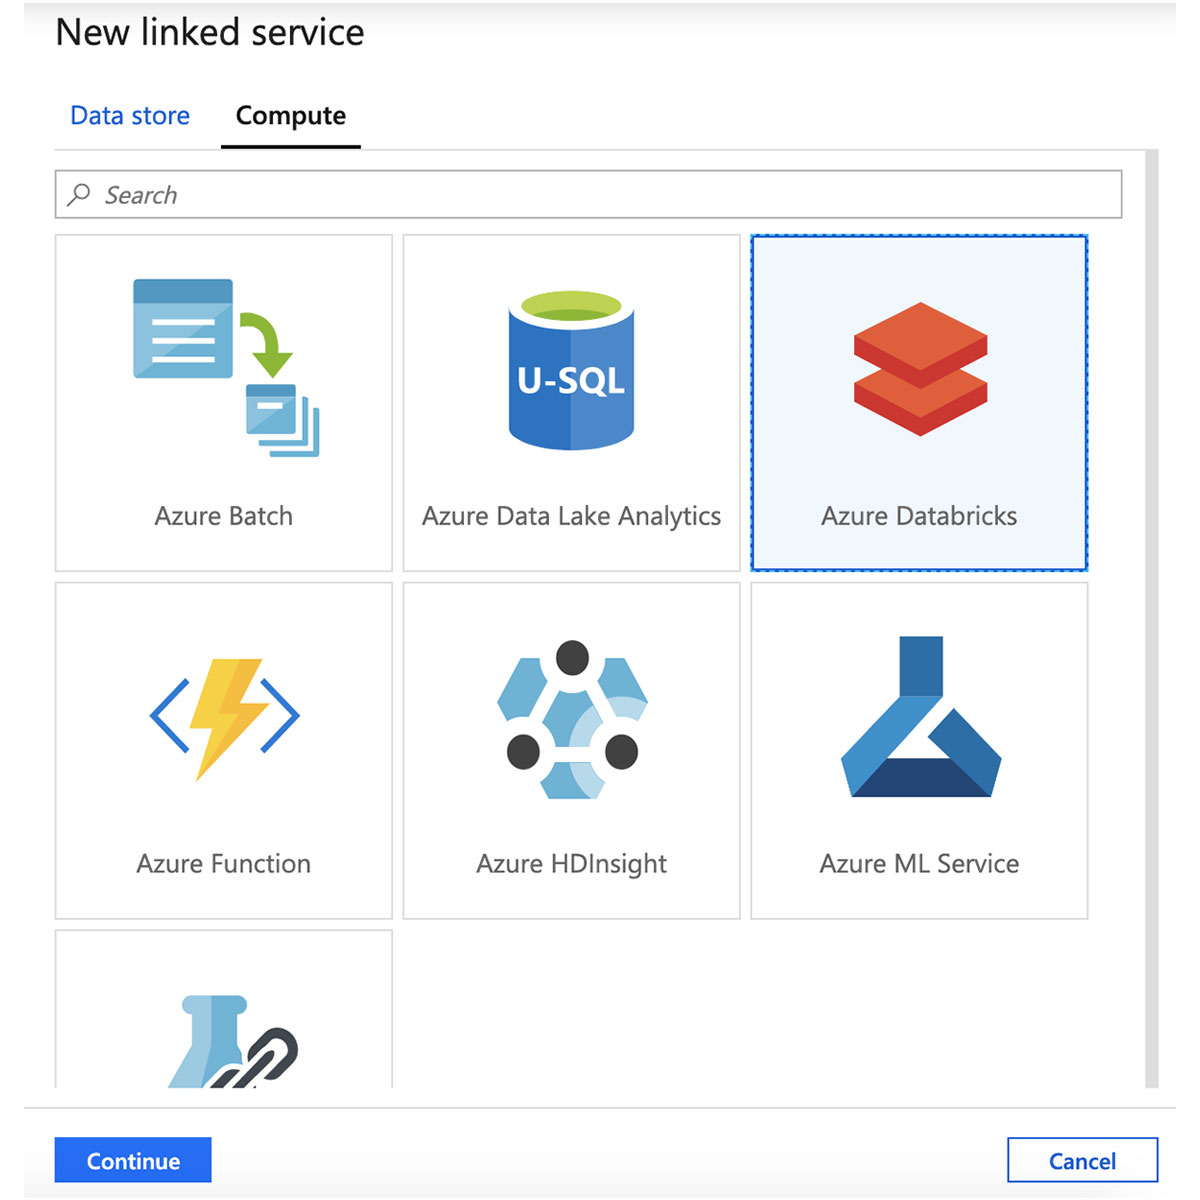
From the "New linked service" pane, click the "Compute" tab, select "Azure Databricks", then click "Continue".
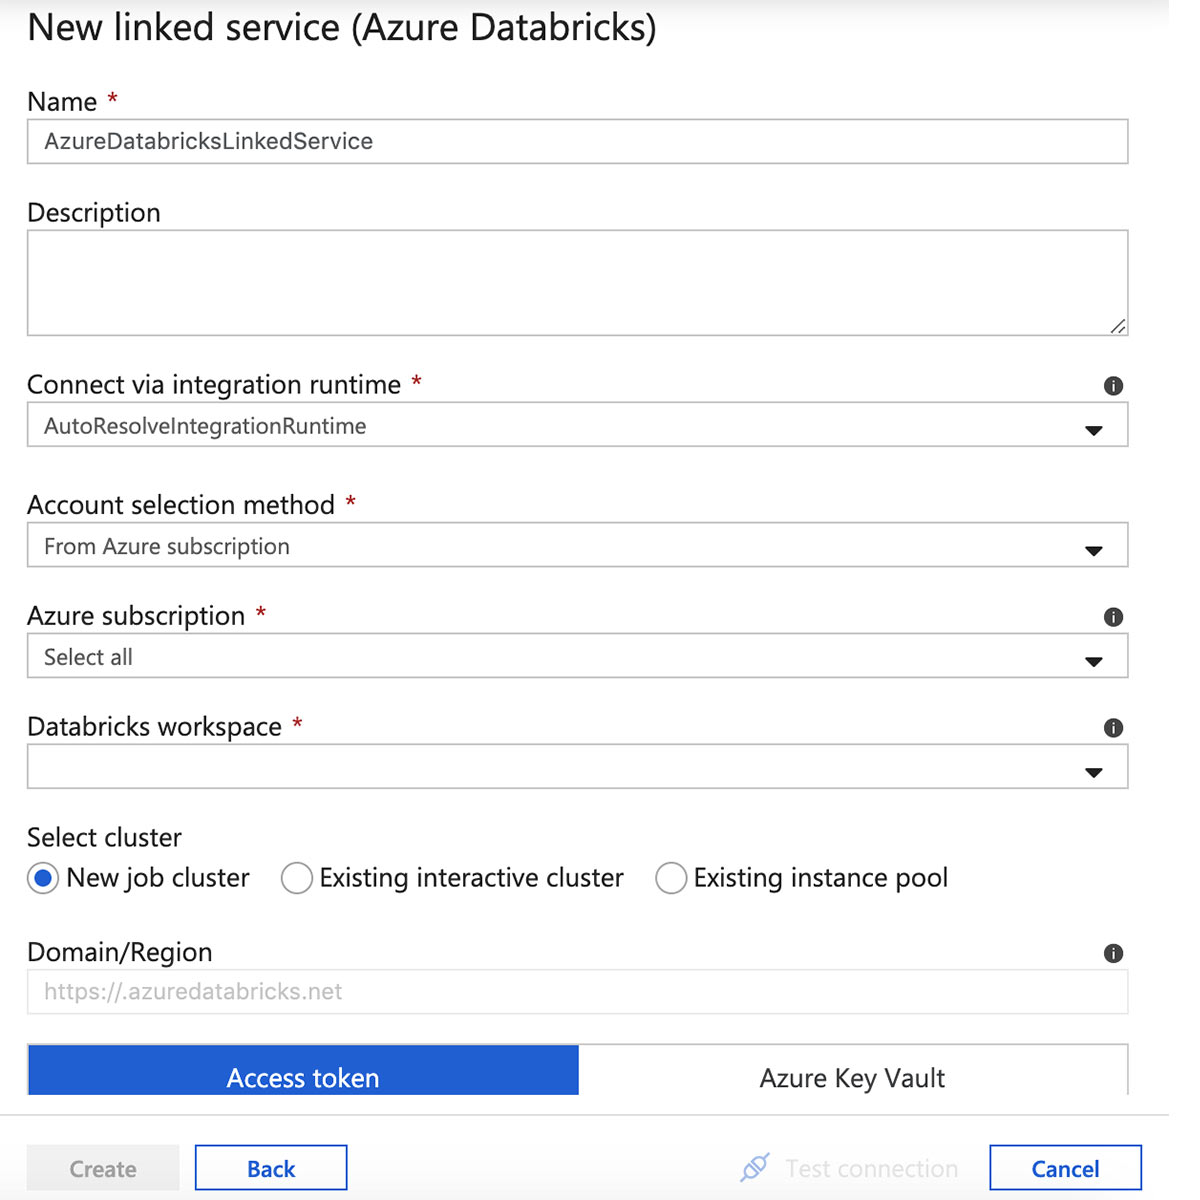
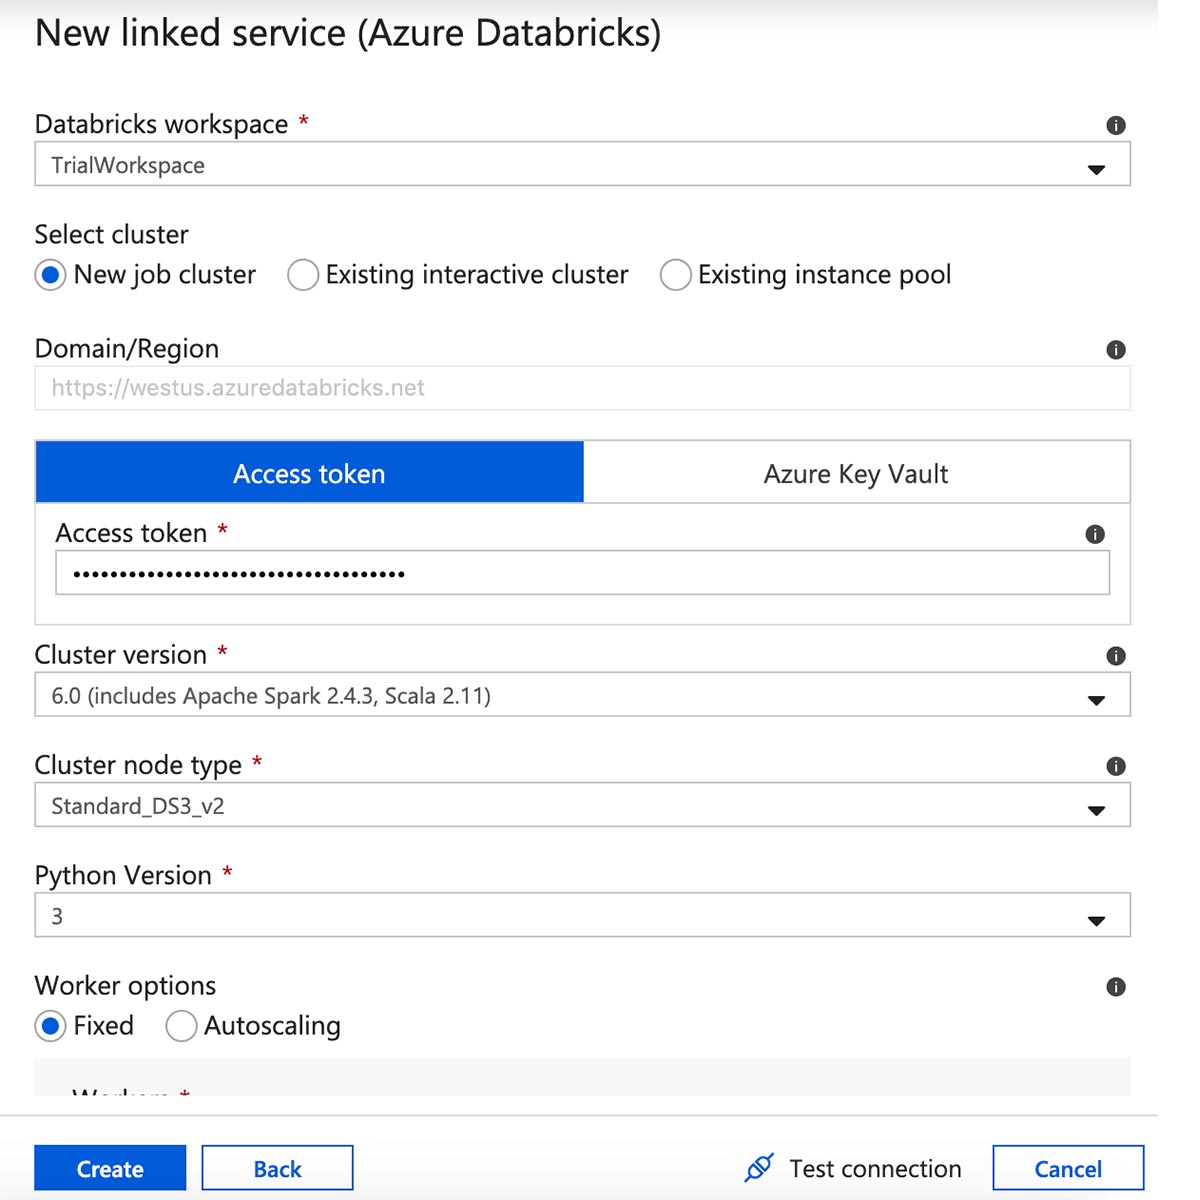
Enter a name for the Azure Databricks linked service and select a workspace.
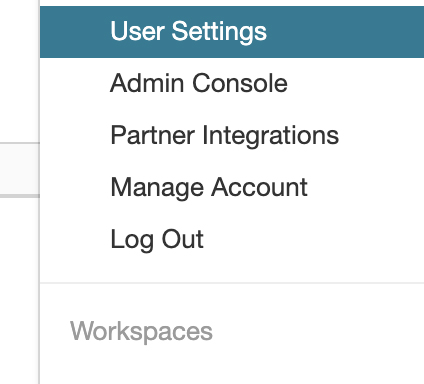
Create an access token from the Azure Databricks workspace by clicking the user icon in the upper right corner of the screen, then select "User settings".
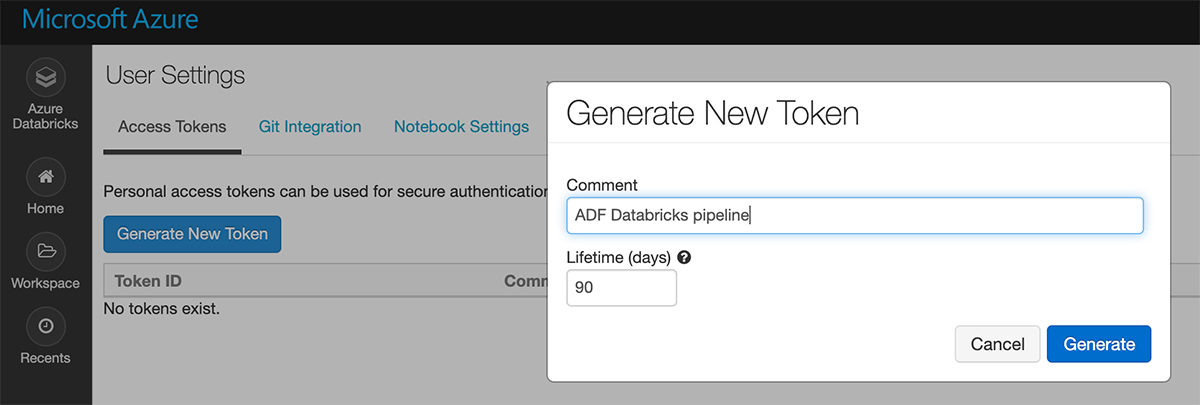
Click "Generate New Token".
Copy and paste the token into the linked service form, then select a cluster version, size, and Python version. Review all of the settings and click "Create".
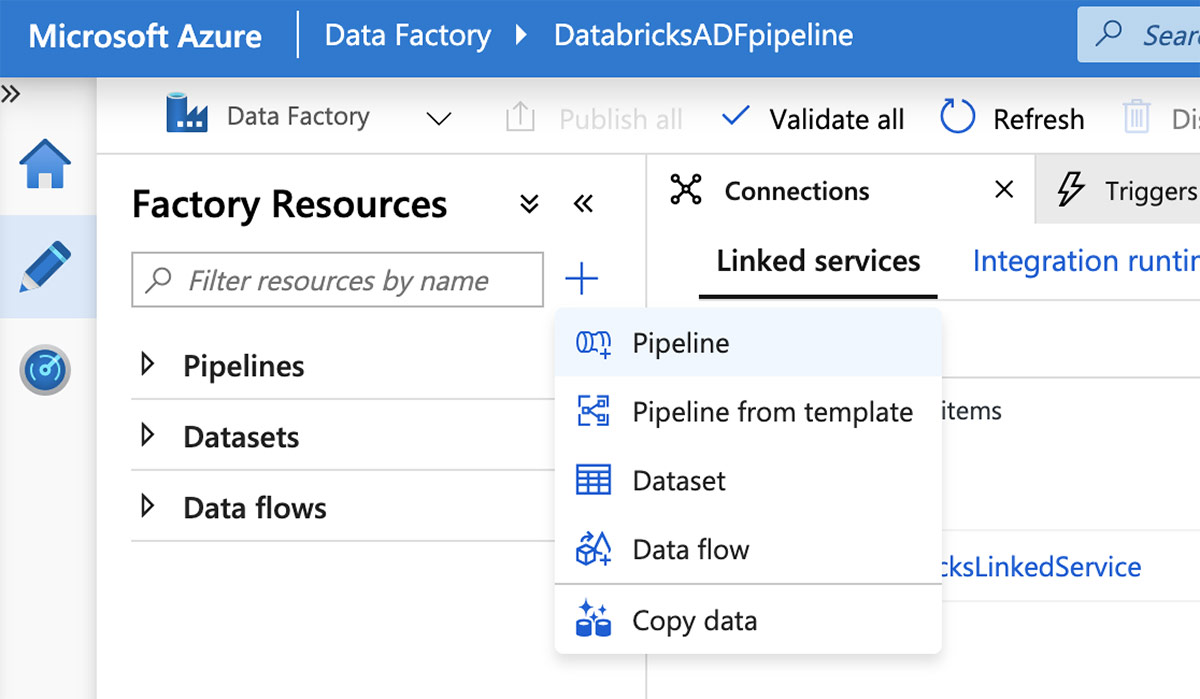
With the linked service in place, it is time to create a pipeline. From the Azure Data Factory UI, click the plus (+) button and select "Pipeline".
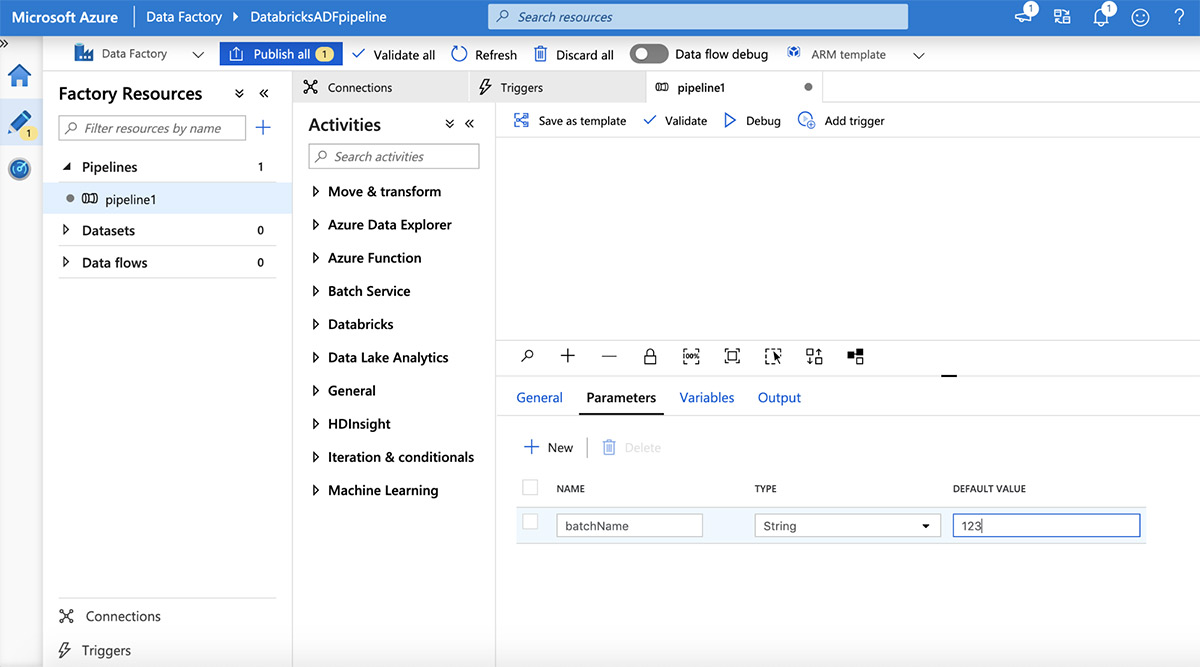
Add a parameter by clicking on the "Parameters" tab and then click the plus (+) button.
Next, add a Databricks notebook to the pipeline by expanding the "Databricks" activity, then dragging and dropping a Databricks notebook onto the pipeline design canvas.
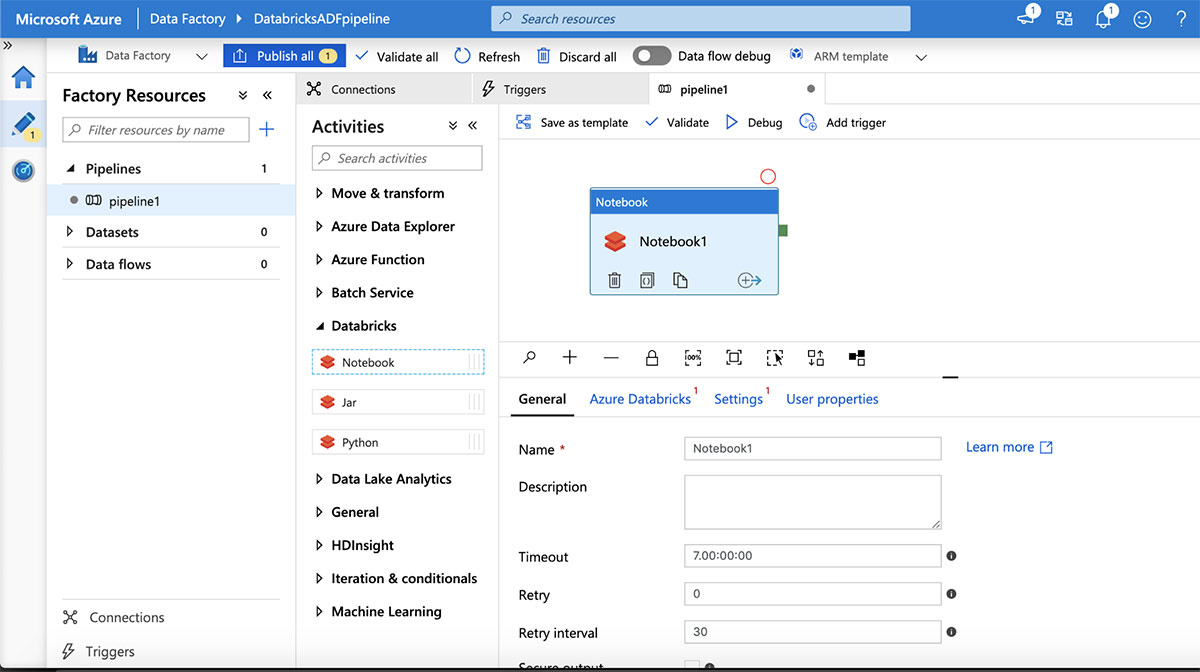
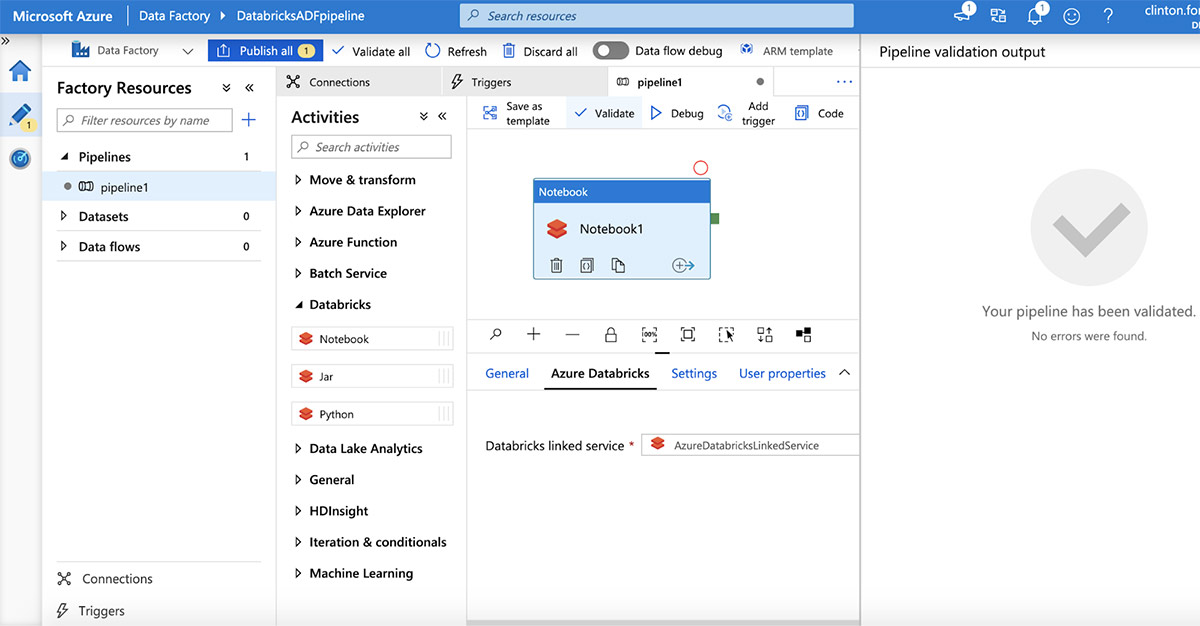
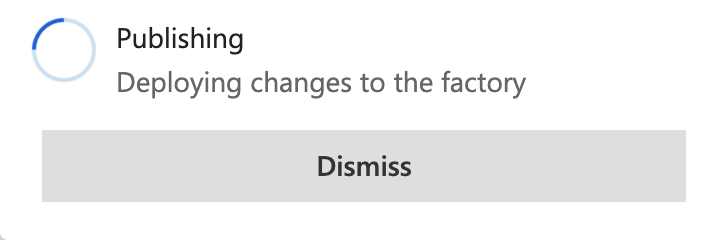
Connect to the Azure Databricks workspace by selecting the "Azure Databricks" tab and selecting the linked service created above. Next, click on the "Settings" tab to specify the notebook path. Now click the "Validate" button and then "Publish All" to publish to the ADF service.
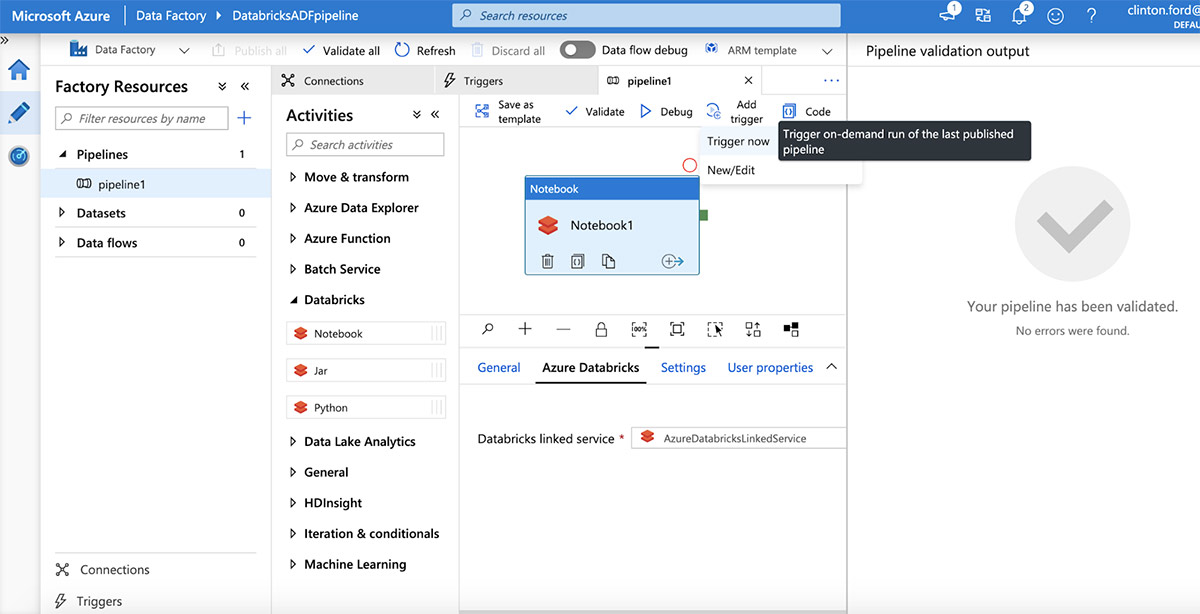
Once published, trigger a pipeline run by clicking "Add Trigger | Trigger now".
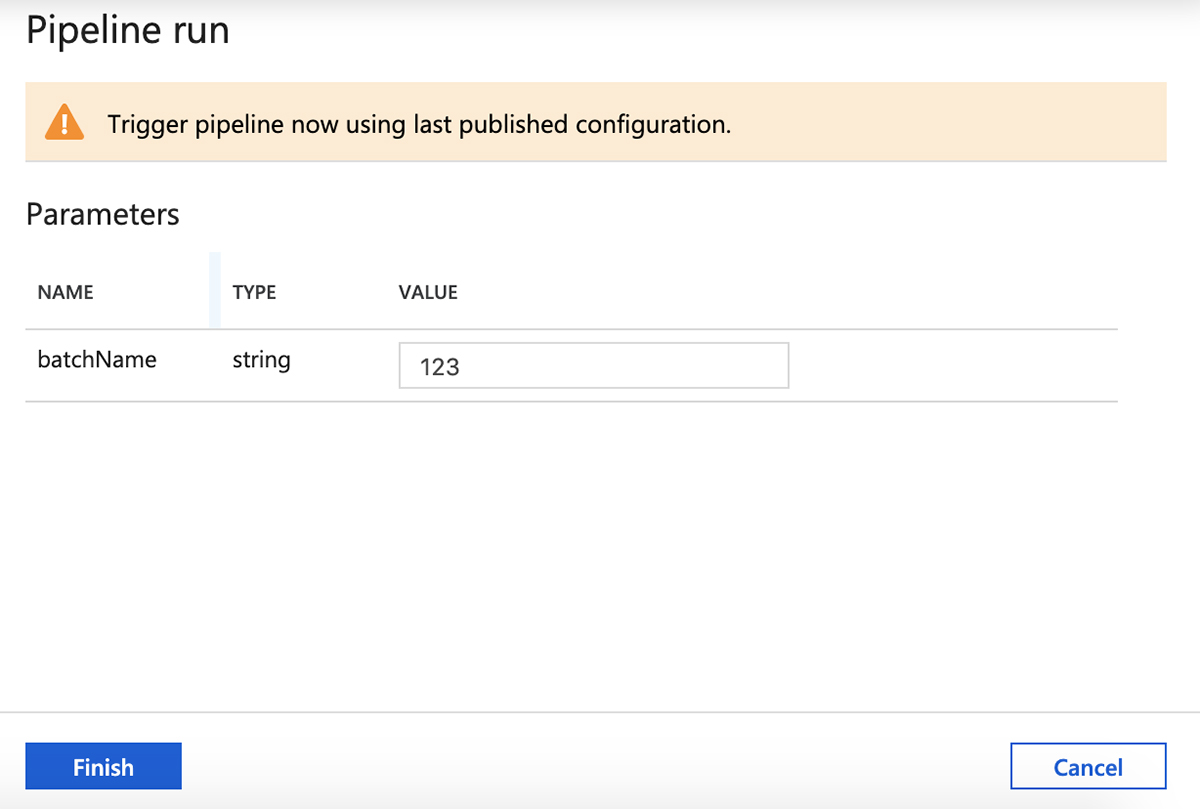
Review parameters and then click "Finish" to trigger a pipeline run.
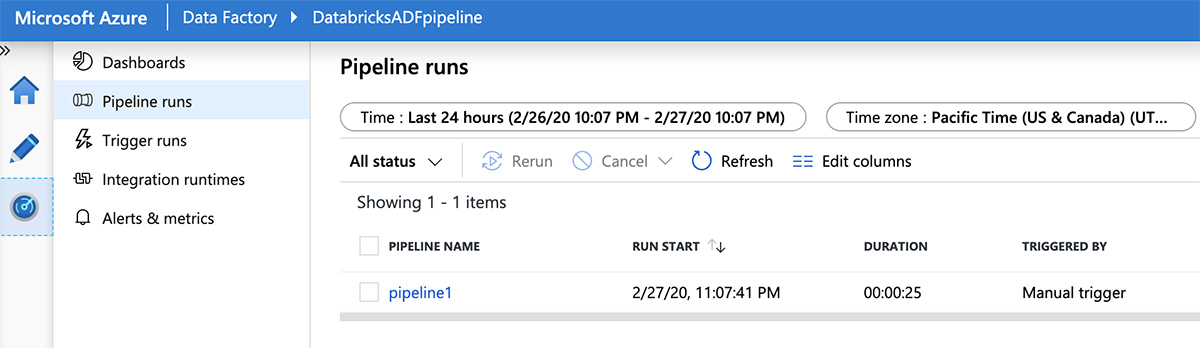
Now switch to the "Monitor" tab on the left-hand panel to see the progress of the pipeline run.
Integrating Azure Databricks notebooks into your Azure Data Factory pipelines provides a flexible and scalable way to parameterize and operationalize your custom ETL code. To learn more about how Azure Databricks integrates with Azure Data Factory (ADF), see this ADF blog post and this ADF tutorial. To learn more about how to explore and query data in your data lake, see this webinar, Using SQL to Query Your Data Lake with Delta Lake.
Get the latest posts in your inbox
Subscribe to our blog and get the latest posts delivered to your inbox.