The Easiest Way to Run Apache Spark Jobs

Recently, Databricks added a new feature, Jobs, to our cloud service. You can find a detailed overview of this feature here.
This feature allows one to programmatically run Apache Spark jobs on Amazon’s EC2 easier than ever before. In this blog, I will provide a quick tour of this feature.
What is a Job?
The job feature is very flexible. A user can run a job not only as any Spark JAR, but also notebooks you have created with Databricks Cloud. In addition, notebooks can be used as scripts to create sophisticated pipelines.
How to run a Job?
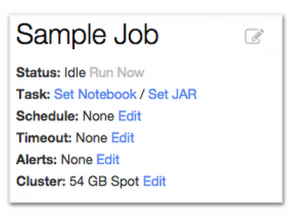
As shown below, Databricks Cloud offers an intuitive, easy to use interface to create a job.
When creating a job, you will need to specify the name and the size of the cluster which will run the job. Since typically with Spark the amount of memory determines its performance, you will then be asked to enter the memory capacity of the cluster. Databricks Cloud will automatically instantiate a cluster of the specified capacity when running the job either by reusing your existing cluster or by creating a new one, and then subsequently tears down the cluster, once the job completes.
Next, you need to specify the notebook or the JAR you intend to run as a job, the input arguments of the job (both JARs and notebooks can take input arguments), and the job’s configuration parameters: schedule, timeout, alerts, and the type of EC2 instances you would like the job to use. Next, we consider each of these configuration parameters in turn.
Scheduling: The user can run any job periodically, by simply specifying the starting time and the interval, as shown below.
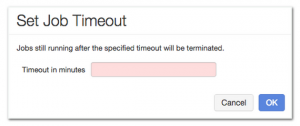
Timeout: Optionally the user can set a timeout which specifies the time the job is allowed to run before being terminated. This feature is especially useful when handling runaway jobs, and to make sure that an instance of a periodic job terminates before the next instance begins. If no timeout is specified and a job instance takes more than the scheduling period, no new instances are started before the current one terminates.
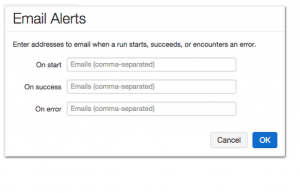
Alerts: When running production jobs, it is critical to alert the user when any significant event occurs. Databricks Cloud allows a user to specify the events they would like to be alerted on via e-mail: when job starts, when it successfully finishes, or when it finishes with error.
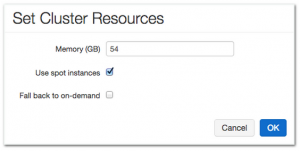
Resource type: Finally, the user can specify whether they would want to use spot or on-demand instances to run the job.
History and Results
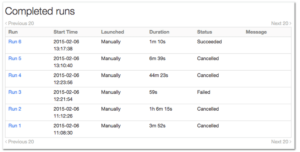
The Job UI provides an easy way to inspect the status of each run of a given job. The figure below shows the status of multiple runs of the same job. i.e., when each run starts, how long it takes, and if it has terminated successfully.
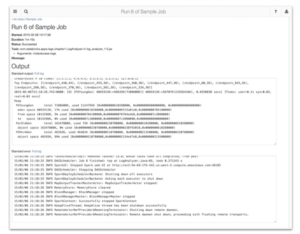
By clicking on any of the “Run x” links you can immediately see the output of the corresponding run including its output logs and errors, if any. The picture below shows the output of “Run 6” above.
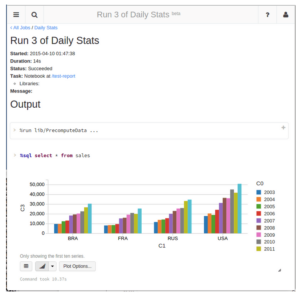
Similarly, the figure below shows the output of running a notebook as a job. Incidentally, the output is the same as running the notebook manually.
Summary
As I hope this short tour has convinced you, Databricks Cloud provides a powerful, yet easy to use feature to run not only arbitrary Spark jobs, but also notebooks created with Databricks Cloud.
Additional Resources
Other Databricks Cloud how-tos can be found at:
Never miss a Databricks post
What's next?

Product
November 21, 2024/3 min read
How to present and share your Notebook insights in AI/BI Dashboards

Product
December 10, 2024/7 min read

