Upgrade Your Lakehouse: Your How-To Guide for Converting to Unity Catalog Managed Tables
Convert from UC External to UC Managed Tables to Speed up Queries and Save on Costs
by Elizabeth Bowman and Amit Vaswani
• Learn how to seamlessly convert Unity Catalog (UC) external tables to UC managed while minimizing downtime, maintaining table configurations, and preserving table history
• Boost query performance by 20x, reduce costs by 50%+, and unlock advanced features with Unity Catalog managed tables
• Find out how to stay in control of your data’s physical location, perform bulk conversions, handle rollbacks, and plan your journey
The new SET MANAGED command provides a seamless mechanism to convert UC external tables to UC managed tables while minimizing downtime, handling concurrent writes, maintaining table configurations, and, where possible, preserving table history. This article shares best practices and provides a step-by-step guide for using this generally available (GA) command:
Why Convert to UC Managed Tables?
With Unity Catalog as the source of truth, managed tables unlock unique capabilities that enhance performance, governance, and ease of use—while maintaining interoperability and portability.
Key advantages include:
- Automatic optimizations that can boost query performance by 20x and cut storage costs by 50%+ (more details here).
- Streamlined data management with automatic cleanup for dropped data to save on costs, as well as support for UNDROP.
- Enhanced governance with data lineage, fine-grained access controls, and secure table access with Unity Catalog supervision over all reads and writes.
- A foundation for future capabilities such as automatic row deletion (Auto-TTL) and row-level ingestion (Zerobus ingest).
- Interoperability: Converted tables support reads from any third-party client (see here for more details).
How can the SET MANAGED Conversion Command Help?
The SET MANAGED command makes conversion from external to managed tables easier
Feature | Benefit of SET MANAGED command |
|---|---|
Minimize Downtime | Keep the table online and available for reads using Databricks Runtime 16.1 or above, and minimize downtime to just a few minutes for writes (or, for reads on Databricks Runtime 15.4 or below). |
Preserve Identity | The table's name, permissions, tags, and settings for all tables, and table history (for Delta tables) are all retained. |
Handle Concurrency | The SET MANAGED command safely handles concurrent writes that may occur during the conversion. |
"Undo" as a Failsafe | Another command called UNSET MANAGED enables roll back of a converted table back to UC external within 14 days, as a safety net. |
How Do I Convert from External to Managed Tables?
A Practitioner's Step-By-Step Guide for Conversion
The SET MANAGED command makes table conversion straightforward. In a step-by-step guide, we've outlined key tips to ensure a smooth transition from external to managed tables.
Step 1: Select External Tables to Convert
Begin by selecting a couple of Unity Catalog external tables to convert to UC managed first, to familiarize your team with the process, prerequisites, and post-conversion steps.
For example, you can try out this command first on a couple of tables that are exclusively read and written to by Databricks clients (see the "Planning a Staged Journey" section further below).
Step 2: Pre-Flight Checklist
Check that your ecosystem of table readers and writers are ready for change. For each selected UC external table and its associated workloads, you’ll want to:
- Update to use Name-Based Access: Check your jobs, notebooks, and queries to ensure they access the table using its three-part name (catalog.schema.table) rather than using path-based access (e.g., SELECT * FROM delta.'s3://path/to/table'). Databricks Labs has developed UCX tooling that can help you find path-based references by running the following Databricks Labs UCX lint-local-code from an IDE terminal, to analyze your local machine’s directory code (.py or .sql files).
- test123
- Path-based redirect is also available for handling legacy code, if updating to name-based access is not possible
- Cancel all Maintenance Jobs: To prevent conflicts, ensure no OPTIMIZE, ZORDER, or CLUSTER BY jobs are running or scheduled to run on the table during the conversion process, if they exist (can check using DESCRIBE HISTORY). After the conversion, Predictive Optimization will automatically handle optimization jobs.
- [Optional] Upgrade Databricks Runtime Versions: All Databricks clusters reading from or writing to the table should ideally be on Databricks Runtime 15.4 LTS or higher to retain full table history for Delta tables. Databricks Runtime 16.1 or higher can eliminate reader downtime entirely.
Step 3: Run the Conversion Command
Execute the conversion using the following conversion command:
Note: For tables with UniForm enabled, use SET MANAGED TRUNCATE UNIFORM HISTORY.
Step 4: Verify the Result
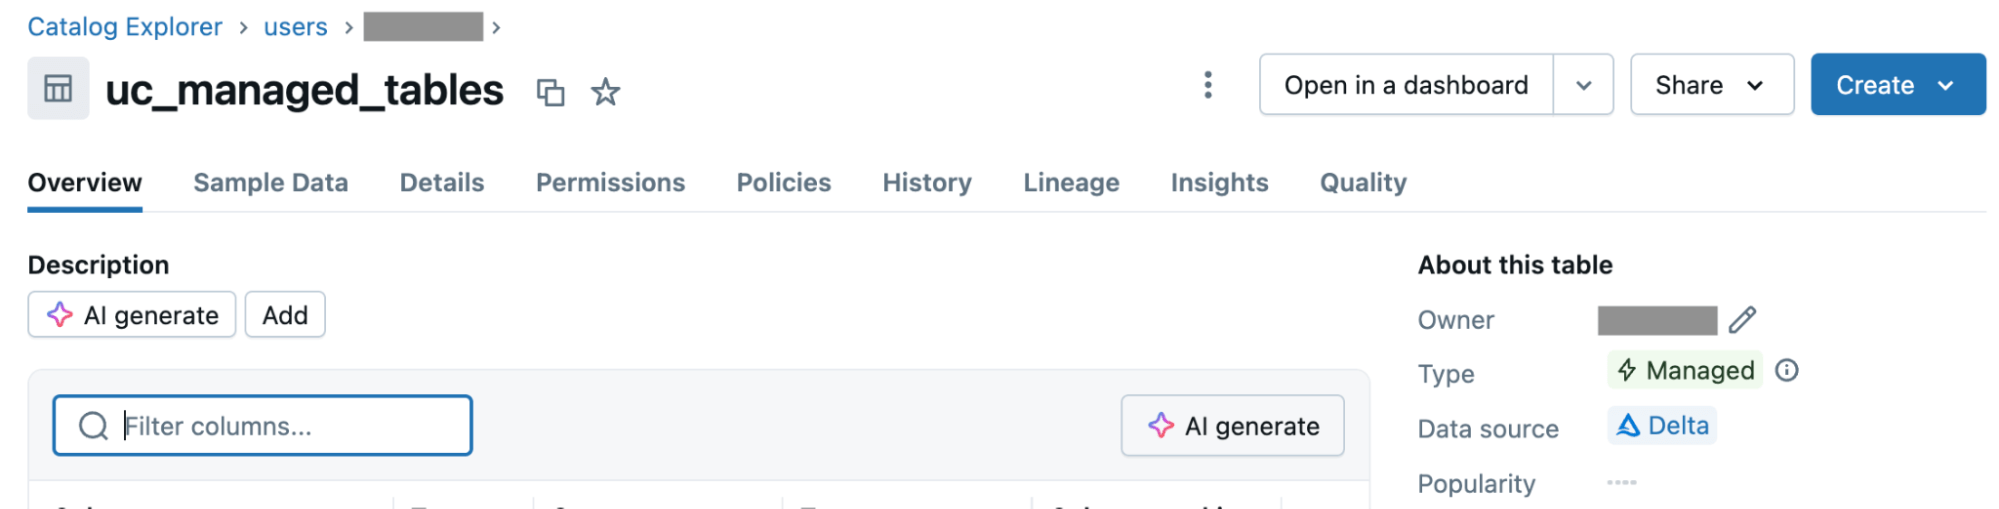
After the command completes, confirm that the conversion was successful by checking the table's metadata.
In the output of this command, the “Type” property should now display as “MANAGED”. You can also see this same information in the ‘About this table’ section of the Catalog Explorer.
Step 5: Post-Conversion Housekeeping
After a successful conversion, complete these final steps to ensure a smooth transition:
- Restart streaming read or write jobs that use the table if any have paused
- Perform functional testing by running key queries to ensure all readers and writers are operating as expected on the newly managed table
- Confirm that Predictive Optimization is now enabled for the table to begin benefiting from automated maintenance (you can also enable CLUSTER by AUTO, for automatic liquid clustering, or check if it’s been enabled).
Planning a Staged Journey
A successful conversion of all tables to UC managed is a journey – adopting a phased approach and planning ahead can help ensure a smooth transition:
- Convert Databricks-Only Tables: Prioritize converting tables that are exclusively read from and written to by Databricks clients. An experimental tool, Access Insights, can be used to help identify tables with only “Databricks readers and writers” vs. “Non-databricks readers” or “Non-databricks writers”.
- Convert Tables with Supported External Tools: Determine which tables are accessed by third-party tools which also natively support reads from UC managed tables, and convert these next. Third-party access will continue working after conversion.
- Address Complex Cases Last: For tables accessed with unsupported legacy tools—plan to use solutions like Compatibility Mode for reads. Where third-party writes are required, re-create these tables and enable writes to these UC managed tables in Preview Preview.
Additional Considerations
The following details regarding the conversion command may be useful to know in advance:
- Rollback Time Limit: To use roll back safety net, UNSET MANAGED must be run on the UC managed table within 14 days of conversion – after that, the original external data will be permanently deleted to save on storage costs.
- Time Travel Nuances: Upgrading clients to 15.4 LTS or higher can be helpful. For clusters running on Databricks Runtime 14.3 LTS or below or if you use the UNSET MANAGED command to roll back, you can only time travel to historical commits by version number after conversion, not by timestamp.
- Minimized Downtime for Writers: The command is designed to minimize downtime – writers may experience a brief outage (estimated between 1 and 5 minutes) during the final phase when the table's location is switched to the new managed location.
- Temporary Delta Sharing Interruption: Delta Sharing will be temporarily interrupted during conversion, but this will function properly again once the process is complete.
Pro-Tip: Scaling Up with Bulk Conversion
To convert hundreds or thousands of Unity Catalog external tables in bulk within a given schema, you can use the following simple SQL script.
Note: This script performs live modifications. It is highly recommended to test it thoroughly in a development environment before running it in production.
Controlling Your Data's Physical Location
Unified Catalog (UC) managed tables reside in customer-managed storage and are accessible through open catalog APIs. If you want more control over how your data is physically stored or segregate your data, you can define a managed storage location at the catalog or schema level – any new managed tables created in that catalog or schema will be automatically organized in that specified location.
For pre-existing external tables, you can set a managed storage location, then use the SET MANAGED command to convert them to UC managed tables. During conversion, the system respects the managed location you’ve defined, giving you control over the physical layout of your data in cloud storage. Please contact your account team to access this feature in Private Preview today.
Converting from External to Managed Tables Today
In just a few short months since Public Preview, hundreds of customers have successfully converted thousands of tables with SET MANAGED.
Everything described here is now GA—try it out today and unlock the performance, governance, and simplicity of Unity Catalog Managed Tables.
Get the latest posts in your inbox
Subscribe to our blog and get the latest posts delivered to your inbox.